Regular User
Regular users can enter their transaction data to the system given the access privilege by the administrator.
Activate Username
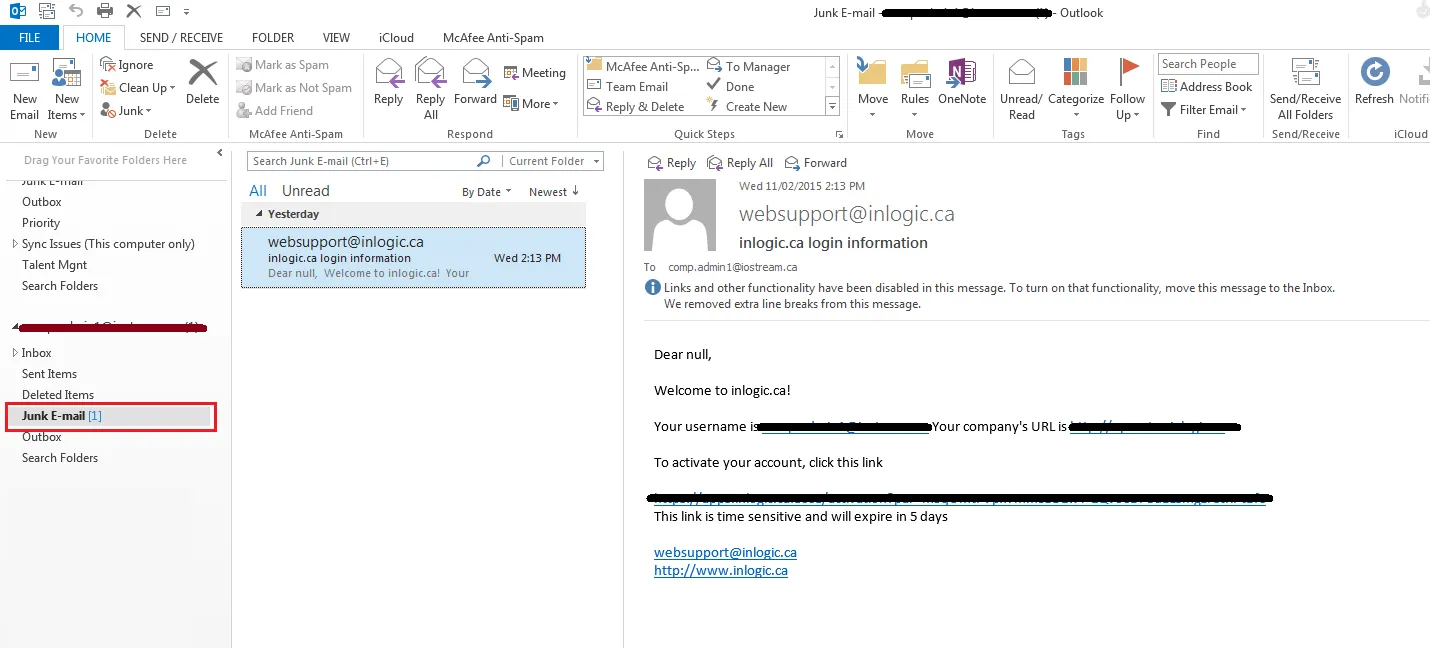
Section titled “Activate Username”Once the administrator activates regular user accounts, regular users will be notified by email with the activation link. By clicking the activation link, users can verify their email and start using inLOGIC.
First Time Login
Section titled “First Time Login”When activated, a regular user can login to the system using the following information:
- Company URL – as provided in the email
- Client is the URL provided by the login information email
- User or Administrator Email Address
- user name only before
@e.g.prefix_exampleforprefix_example@domain_example.com
- user name only before
- Password
- The password is the same password entered during sign up.
Click Log In to start.
Manage Profile
Section titled “Manage Profile”Since regular users are limited to accessing such menus as Configuration and Calculation, the Setting, and some menus are invisible for regular users.

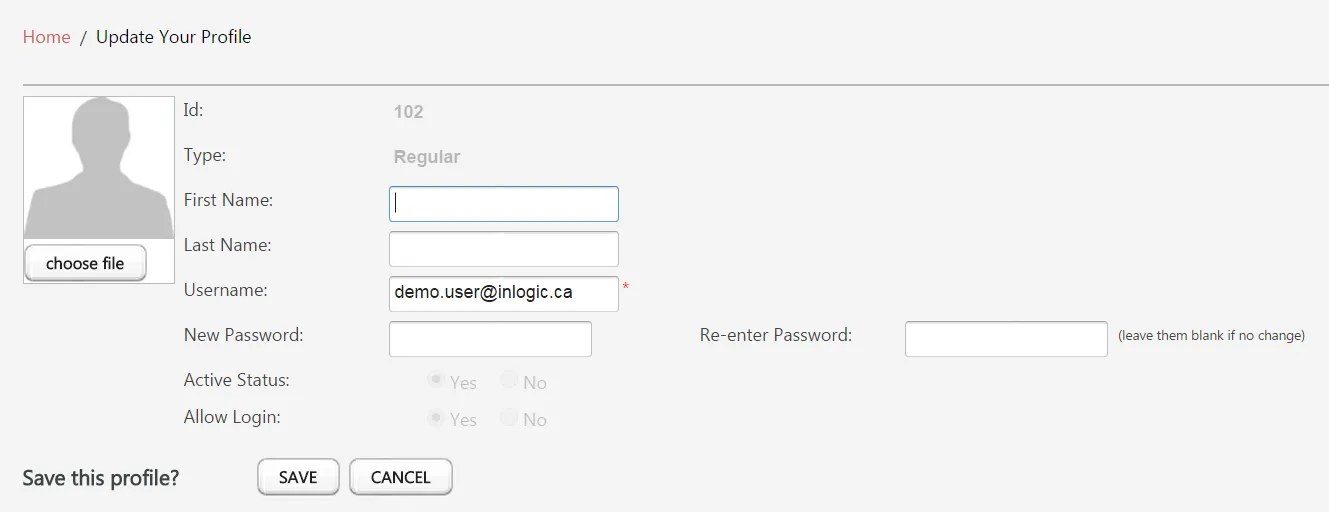
In order to reset password:
- Mouse over the Username at the top menu bar –
company:aaa@company.com - Click Edit Profile
- Type in the new password
- Re-type the new password to confirm
- Click Save button
As soon as you save the changes, you will be automatically signed out, and asked to log back in again with the new password you have just set.
Not only can you change the current password on the Edit Profile page, but you can also upload your profile picture and update your name.
Payee Menu for Regular Users
Section titled “Payee Menu for Regular Users”In order to review the detail about Plans you are participating in, commission or credits you have earned in progress, and any changes made in your personal data. All of this information can be found in one page. Click Payee from the main menu.

Transaction Menu for Regular Users
Section titled “Transaction Menu for Regular Users”If your organization has chosen a Professional or higher package, you may have been given the Transaction Privilege
which allows you to enter or import your own transaction data to the system. If you Add or Import buttons are not visible, consult your Sales Compensation Administrator.
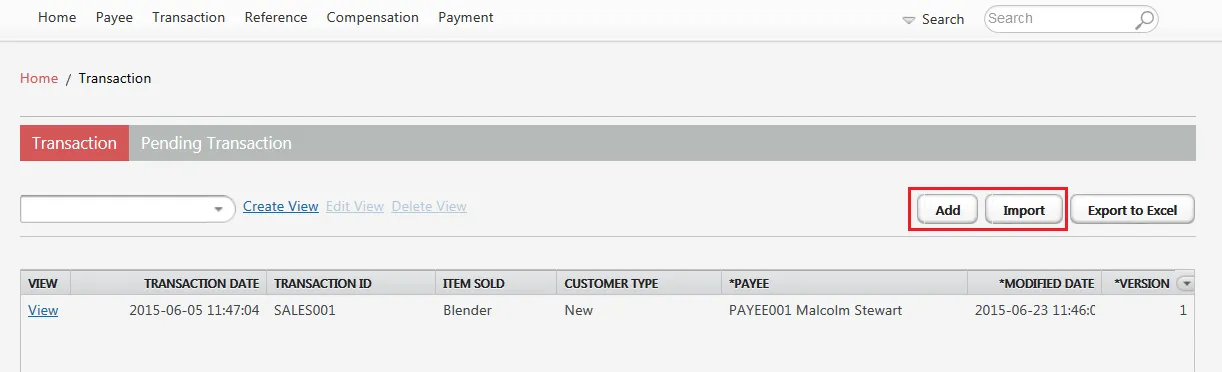
In order to add a transaction record:
- Click Add button
- Fill out all the necessary fields
- If you have more transactions to enter, click Save and More button, otherwise click Save button
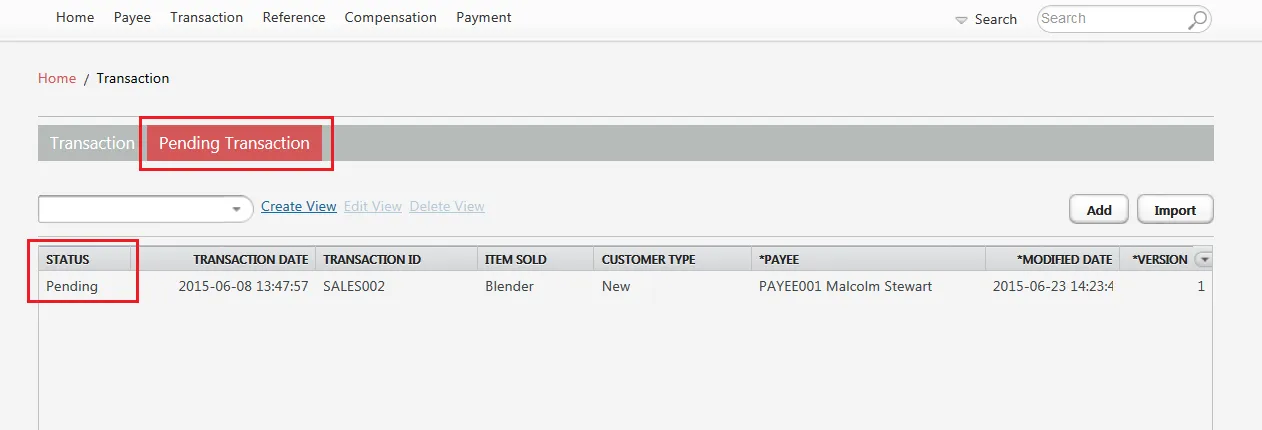
When a regular user enters transaction records, its status remains Pending under Pending Transaction tab. Once the administrator approves one or all of the transactions, approved entries will appear under Transaction tab.